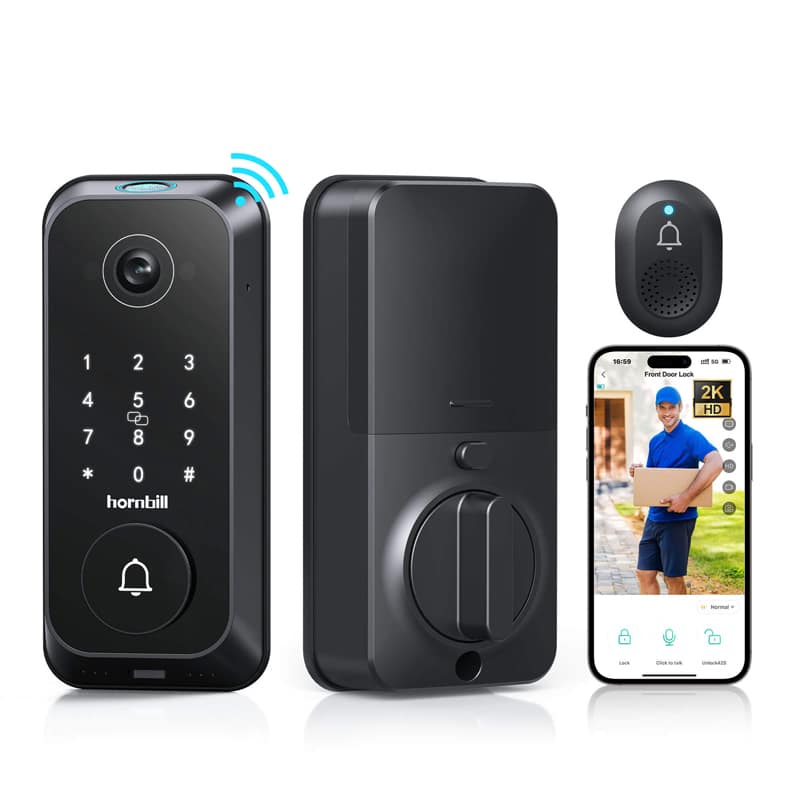
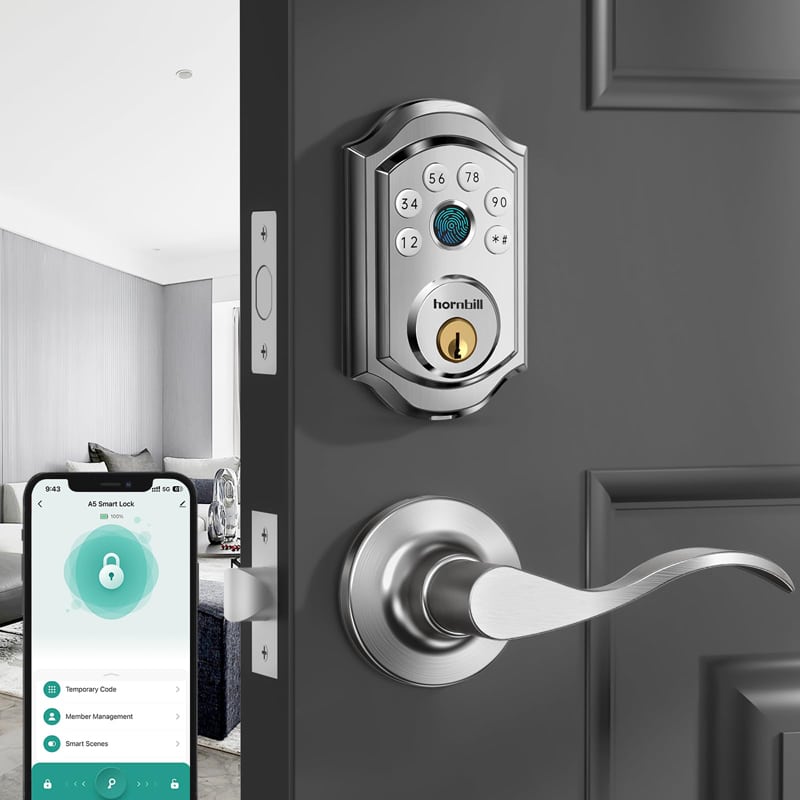
If you are a new Hornbill Smart camera Lock user, we recommend following steps below before installation to avoid any installation issues.
1. Compatible Door Dimensions
Before you install our camera Lock, please check your door dimensions. Below is the compatible door size for your reference.
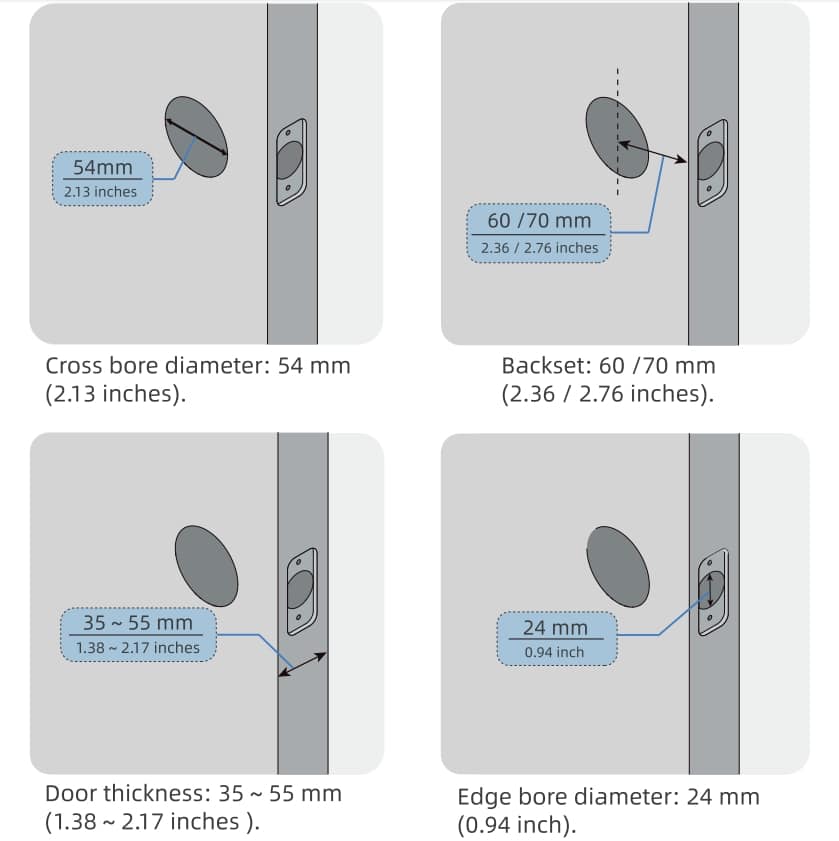
Please note that Hornbill doorbell cameras lock is not compatible with storm doors and may not be suitable for the standard entry doors behind them, as the storm doors may block the camera.
2. Tools Required
Before installing the lock, it’s important to have all the necessary tools ready. This will save you from scrambling to find tools during the installation process.
- For customers replacing an old lock with a new one:
– Philip Screwdriver/Power screwdriver
– Drill (if lock hole adjustment is needed)
– Lock accessories (usually included with the new lock)
- For customers who have never installed a lock:
– Philip Screwdriver/Power screwdriver
– Drill (depending on door material and lock type)
– Lock accessories (including lock body, keys, screws, etc.)
– Hammer (if lock body adjustment is required)
3. Location Guide
For optimal performance, ensure the wireless doorbell camera lock is installed in the correct location based on the following guideline chart.
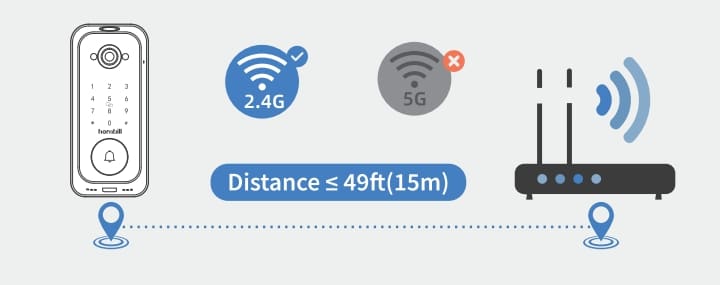
The video smart deadbolt and Wi-Fi router should be on the same floor to ensure enhanced connectivity. lf the distance between the lock and router is too far, it could cause video stuttering or frame drops when the app’s real-time video is switched to high-definition.
4. Preparation Finished
Once everything is ready, you can begin installing the smart lock. Please refer to the next blog guide for detailed installation steps – How to Install Best Video Doorbell Smart Lock.

