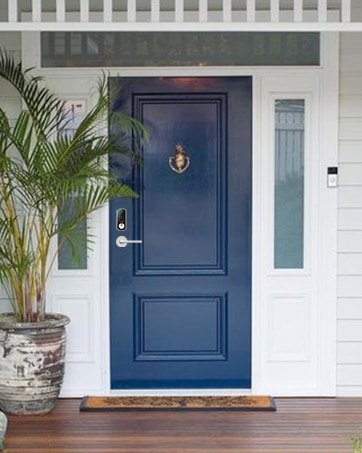


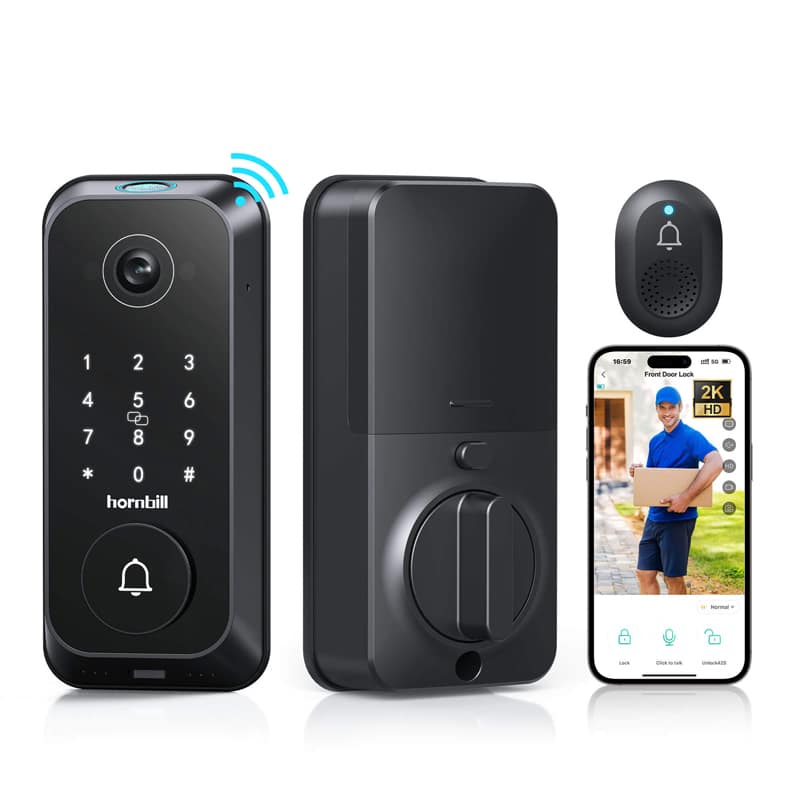
Video Doorbell | 2K HD camera | Built-in Wi-Fi
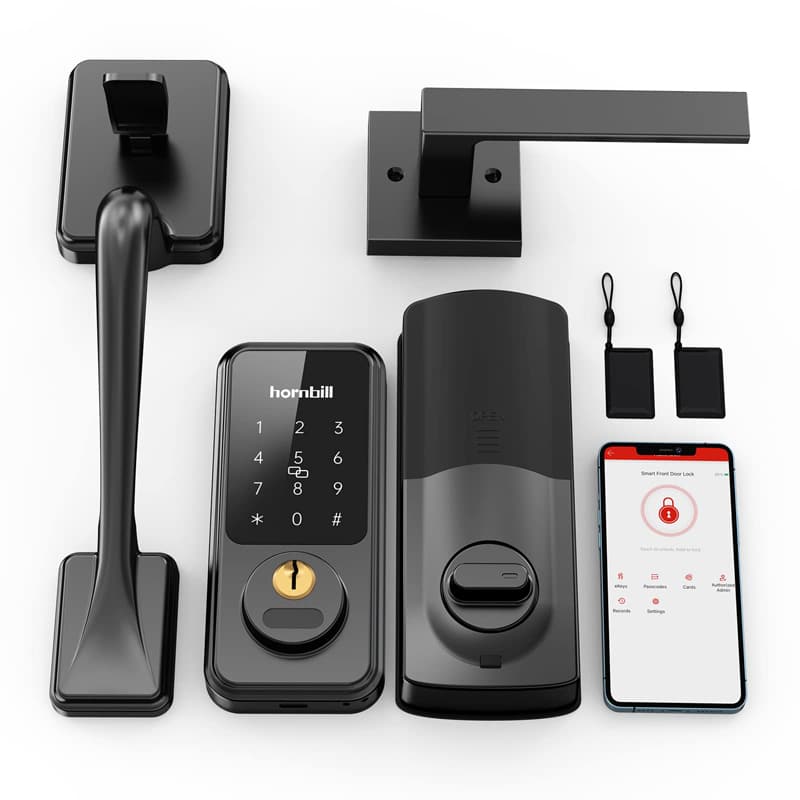
Bluetooth APP | Auto Lock | Easy to Install
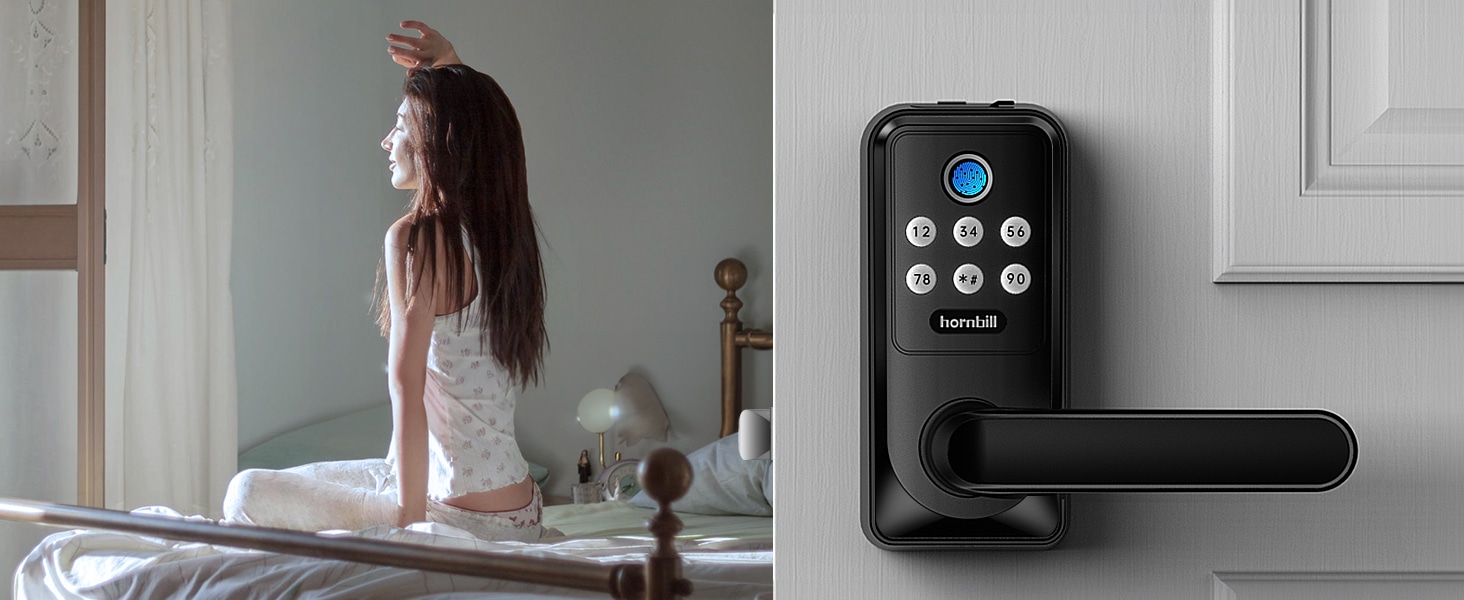
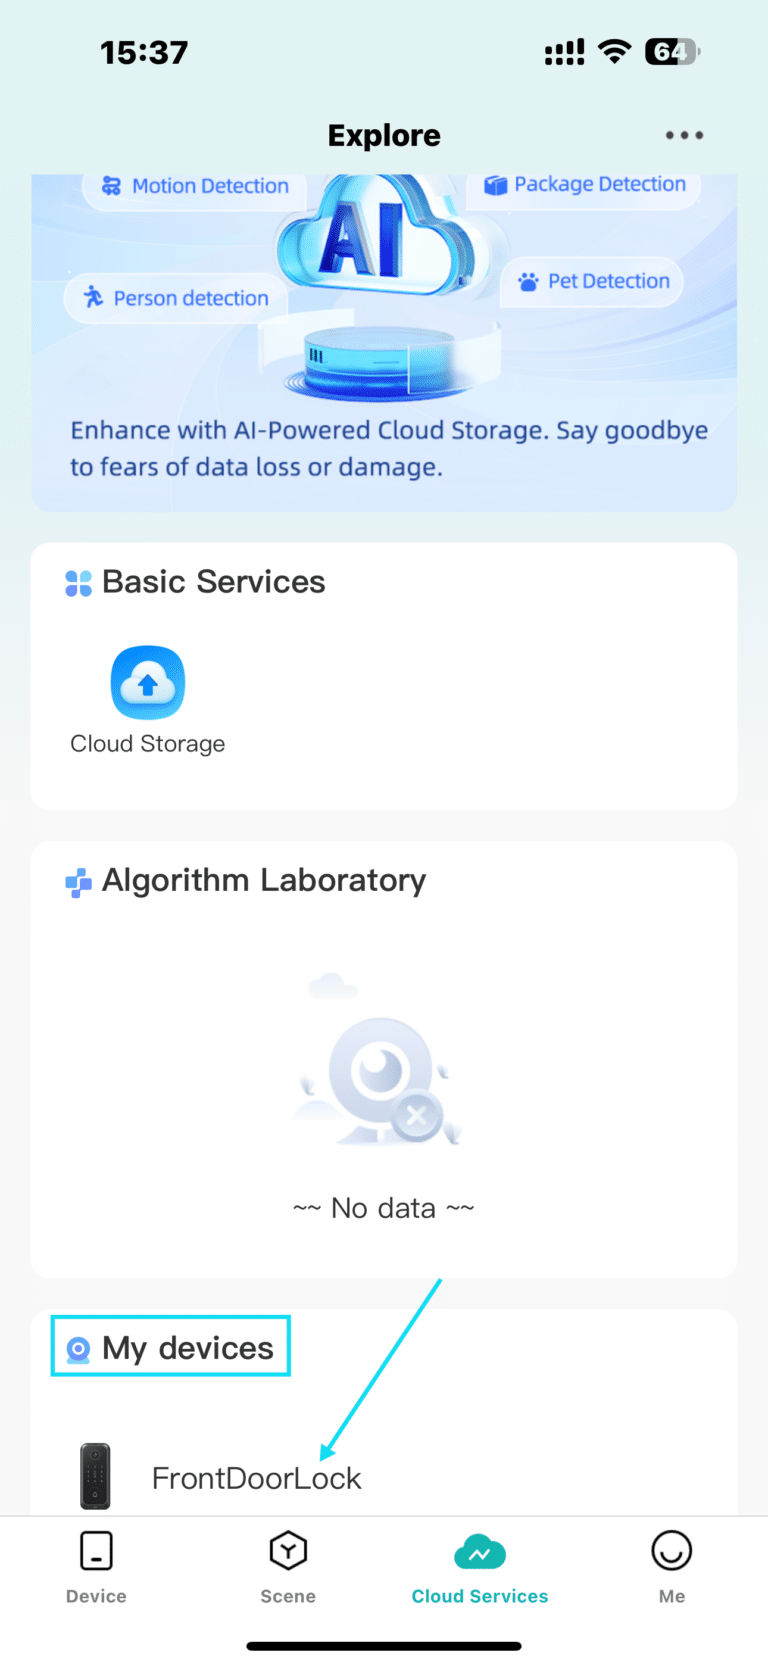
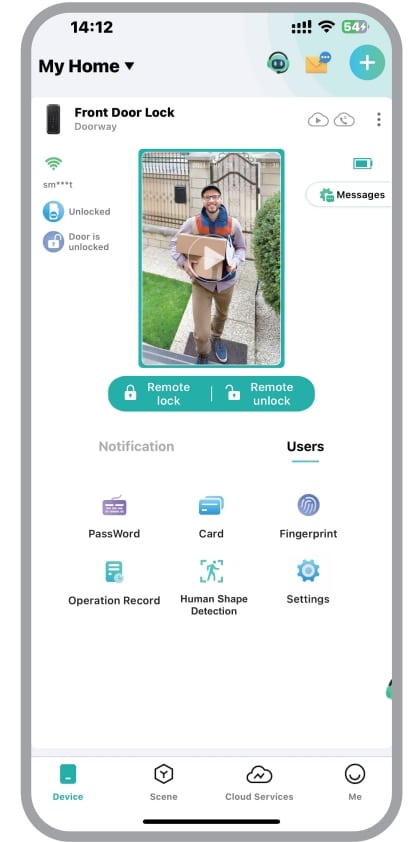
WiFi Deadbolt | Fingerprint | APP Control
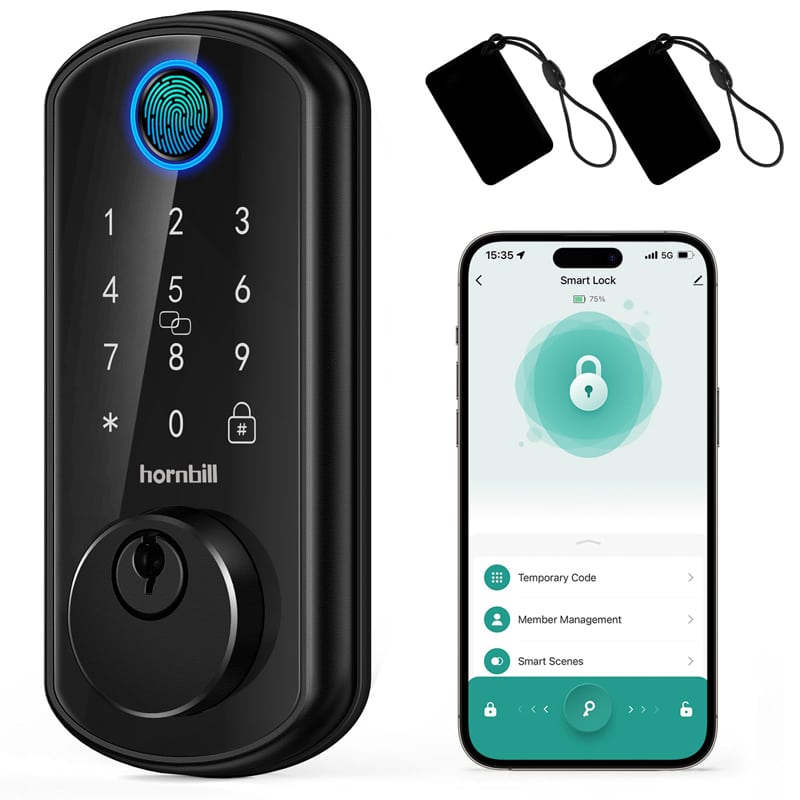
Biometric Fingerprint Unlock | Anti-Peeping Passcode
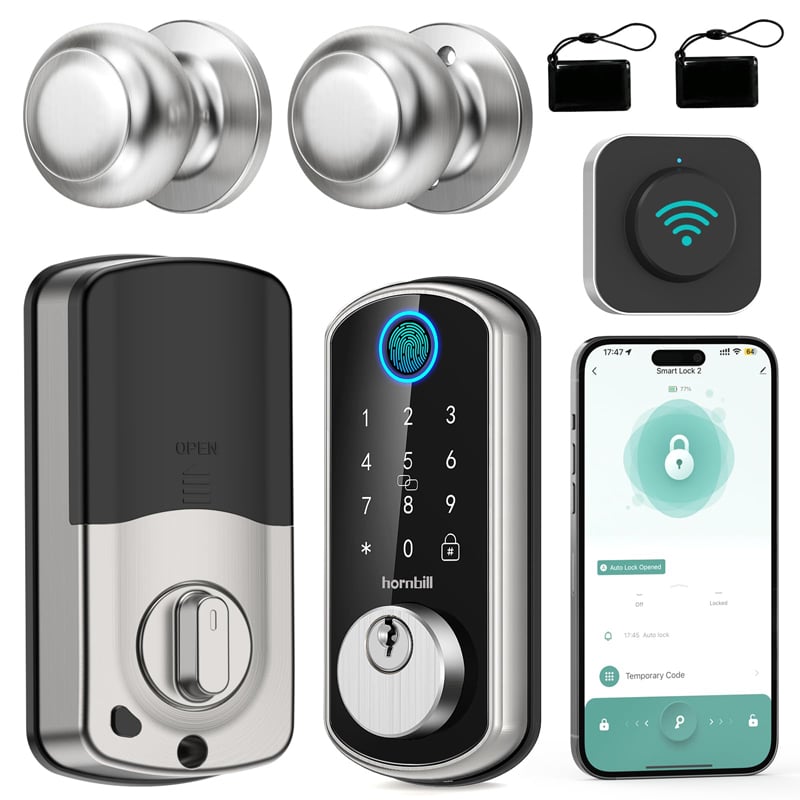
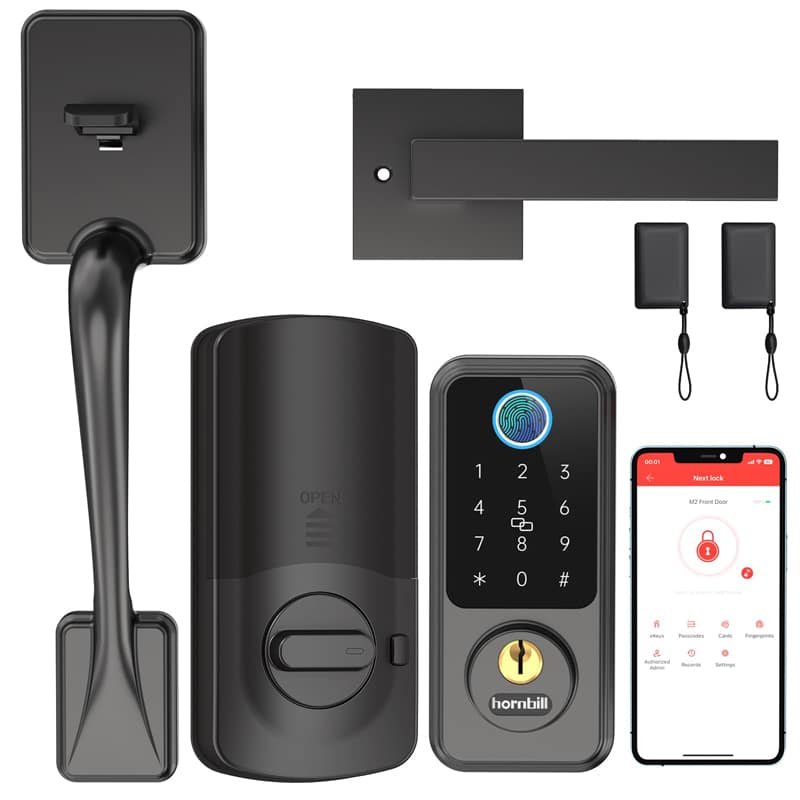
Voice Control | Easy to use | Fingerprint
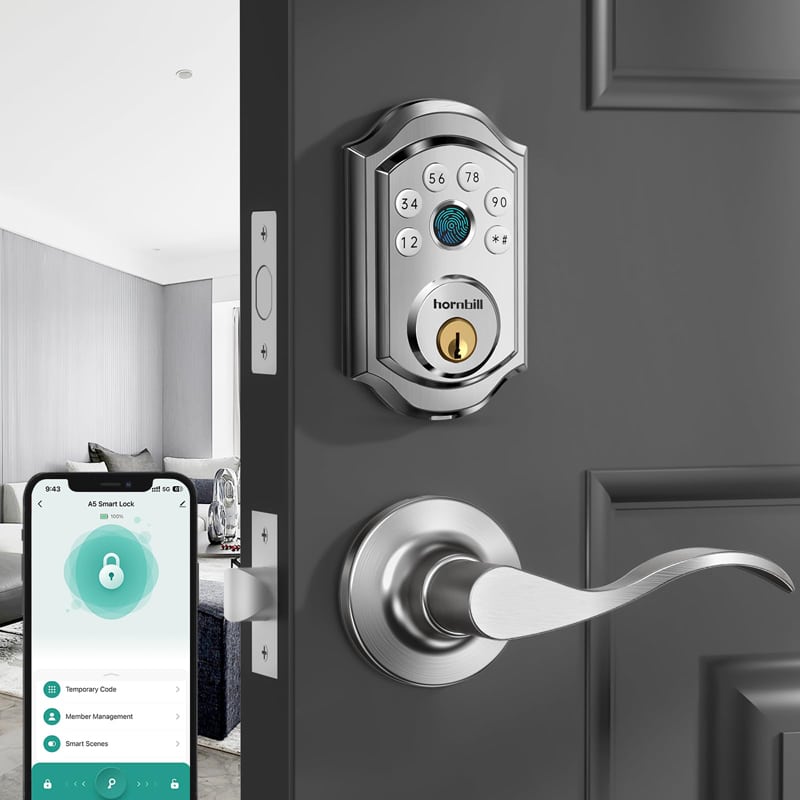
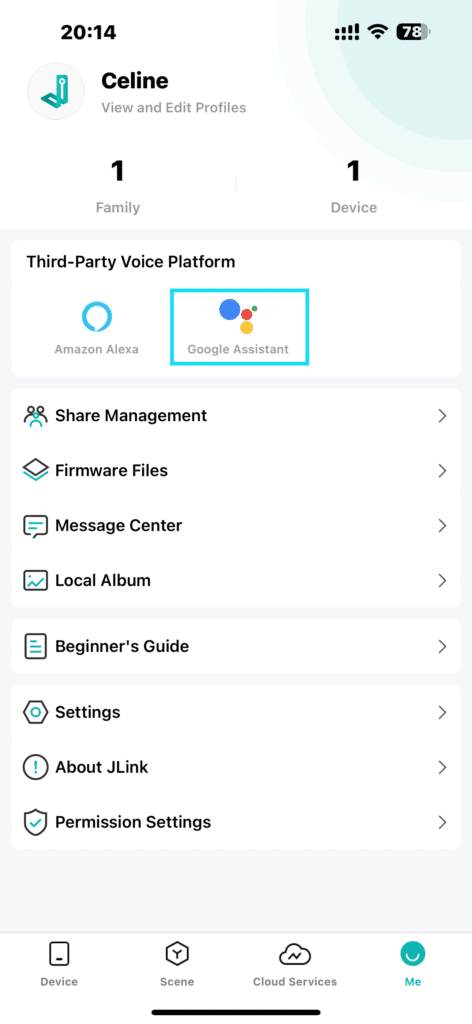
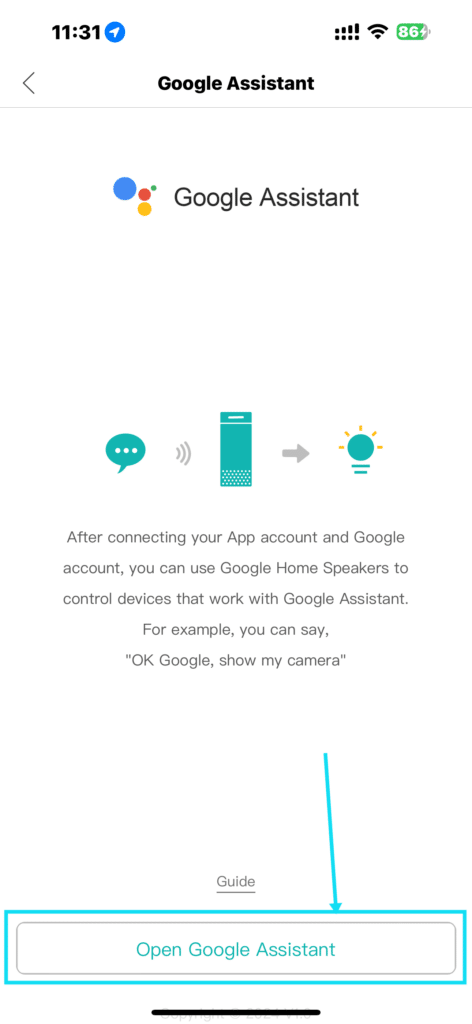
Anti-Peeping Password | Google Home | Alexa